
Imagine scooping into a dream: impossibly creamy, intensely chocolatey, and with that unmistakable hazelnut richness. This is homemade Nutella ice cream, and it’s simpler to achieve than you ever thought possible.
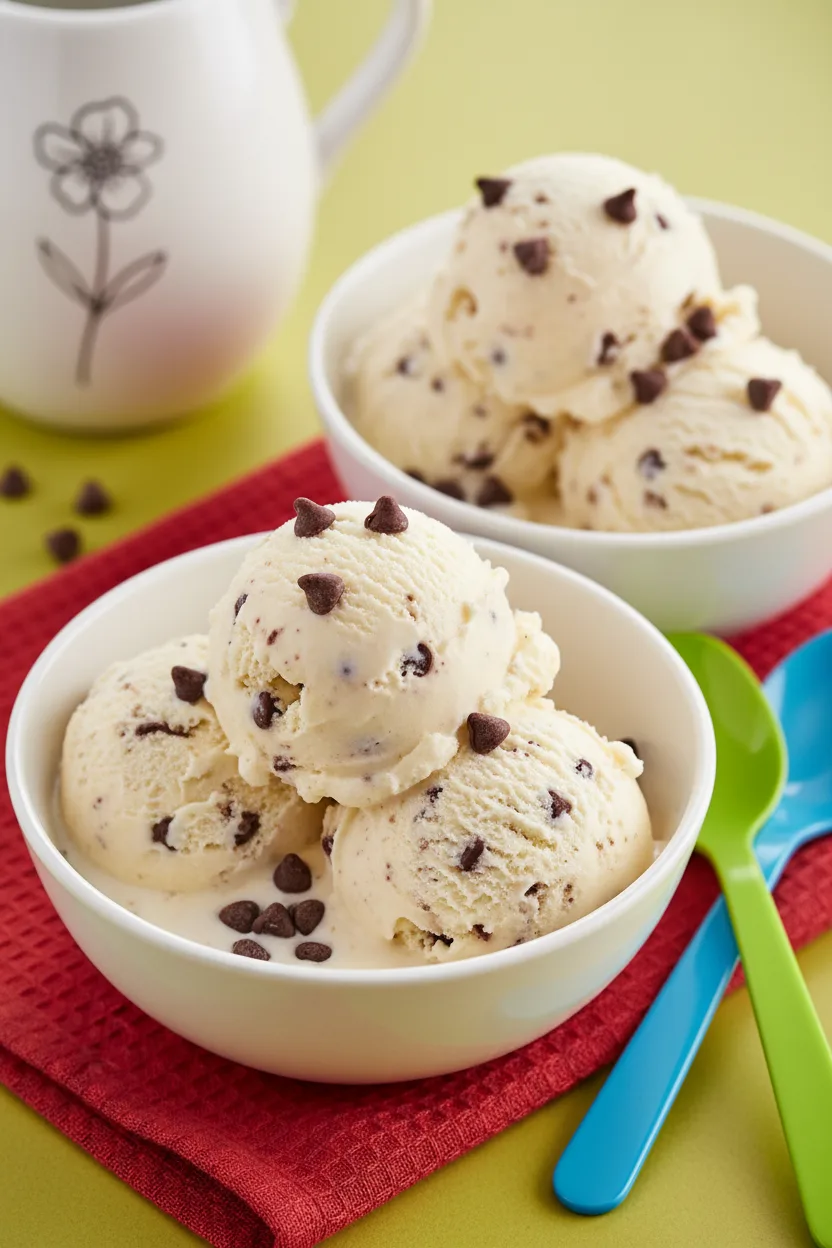
We know you appreciate a recipe that delivers spectacular results without demanding hours in the kitchen. That’s why we’ve perfected this foolproof method for creating a luxurious no-churn ice cream that tastes like it came straight from a gourmet shop.
Get ready to unlock a new level of homemade dessert bliss. This recipe is designed to be your reliable go-to, proving that impressive desserts are absolutely achievable, even on a busy weeknight.
Quick Overview: Your 3-Ingredient Nutella Ice Cream
Get ready for a treat that’s as easy to make as it is to enjoy. This quick overview covers the essentials, so you can dive straight into crafting this delightful no-churn ice cream.
Key Facts at a Glance
Prep Time: 10 minutes
Cook Time: 0 minutes
Servings: Approximately 2 quarts
Difficulty: Easy
Effortless Steps to Deliciousness
- Combine softened ice cream and Nutella.
- Stir until smooth and uniformly combined.
- Transfer to a freezer-safe container and cover tightly.
- Freeze for at least 4 hours until firm.
Now that you have a clear snapshot of the process, let’s explore the simple magic behind this no-churn wonder.
The Magic Behind No-Churn: Why This Works Wonders
Caitlin, you might be wondering how it’s possible to create such creamy, delicious ice cream without an ice cream maker. The secret lies in the clever combination of ingredients and a bit of food science!
Traditional ice cream making relies on churning to incorporate air and, more importantly, to break up ice crystals as they form. This process ensures a smooth, velvety texture. Without a machine, we need a different approach.
The Science of Creaminess: Fat and Sugar to the Rescue
The magic in this no-churn Nutella ice cream primarily comes from the interplay of fat and sugar. When you start with a good quality, softened vanilla ice cream, you’re already working with a base that has a significant amount of fat (from the dairy) and sugar.
Fat, abundant in the cream used to make the ice cream, coats ice crystals, preventing them from growing too large and creating that icy, granular texture. It also contributes to a rich, smooth mouthfeel. Nutella itself is rich in fat from the hazelnuts and cocoa butter, further enhancing this effect.
Sugar is crucial not just for sweetness, but also for its ability to lower the freezing point of water. This means that even when frozen, the mixture remains more pliable and scoopable, rather than turning into a solid, unyielding block. The sugar in both the ice cream and the Nutella works in harmony to achieve this.
How Nutella Enhances the No-Churn Experience
Nutella, with its inherent creaminess and high fat content, is the perfect partner for this no-churn method. When you fold it into softened ice cream, it doesn’t just add flavor; it helps to further inhibit ice crystal formation.
The goal is to achieve a uniform blend. If the ice cream is too hard, you risk not fully incorporating the Nutella. If it’s too melted, you’ll end up with a more liquidy base that might not freeze as smoothly. Aim for a consistency similar to a very thick milkshake or a very soft, scoopable ice cream.
The Role of the Ice Cream Base: Beyond Vanilla
While vanilla ice cream is the classic choice because its neutral flavor allows the rich Nutella to shine, don’t be afraid to experiment! The fat content of your base ice cream plays a significant role in the final texture. Ice creams with a higher fat percentage tend to yield a creamier result.
If you use a chocolate ice cream as your base, you’ll create an intensely chocolatey hazelnut experience. A coffee or even a caramel ice cream could also offer interesting flavor profiles. Just ensure the base ice cream is of good quality and has a nice, smooth texture to begin with.
Understanding these simple principles will empower you to create perfect no-churn ice cream every time. Now that you know the ‘why,’ let’s move on to the ‘how’ with our detailed recipe instructions.
Crafting Your Dreamy Nutella Ice Cream: Step-by-Step
Now that we understand the magic behind no-churn ice cream, let’s dive into the simple steps to create this decadent treat. Following these instructions precisely will ensure a smooth, creamy, and intensely flavorful Nutella ice cream that’s perfect for any occasion.
Step 1: The Perfect Blend
Begin by ensuring your 1 quart of high-quality vanilla ice cream has softened slightly. You want it pliable enough to stir, but not completely melted. This stage is crucial for achieving a smooth consistency without ice crystals. In a large bowl, combine the softened ice cream with ½ cup of Nutella. Stir vigorously with a spatula or spoon until the mixture is uniformly combined and smooth. Aim for a consistent color and texture throughout, ensuring no streaks of plain ice cream or clumps of Nutella remain. Be mindful not to overmix, as this can incorporate too much air, potentially affecting the final texture.
Step 2: Ready for Freezing
Once your Nutella ice cream base is perfectly blended and smooth, it’s time to prepare it for its transformation into frozen delight. Carefully transfer the entire mixture into a freezer-safe container. Using a container with a tight-fitting lid is essential. This prevents freezer burn and the absorption of any unwanted odors from your freezer. Ensure the mixture is spread evenly in the container to promote consistent freezing.
Step 3: The Freezing Process
Cover the container tightly with its lid. Place the container in the freezer and allow the ice cream to freeze until firm. We recommend a minimum freezing time of at least 4 hours. For the best texture and scoopability, longer freezing periods are often beneficial, allowing the mixture to fully set and develop its characteristic creamy consistency.
Step 4: Garnish and Serve
After the ice cream has frozen to your desired firmness, it’s ready to be served. Before scooping, consider adding your favorite optional garnishes. This is where you can truly personalize your creation. Delicious additions include a drizzle of chocolate sauce, a sprinkle of chocolate chips, or a scattering of chopped hazelnuts. These not only enhance the flavor but also add a delightful textural contrast. Scoop generously and enjoy your homemade Nutella ice cream!
With these straightforward steps, you’ve created a show-stopping dessert. Next, we’ll explore some expert tips to elevate your creation even further.
Elevate Your Scoop: Pro Tips & Creative Twists
Now that you have the basic recipe down, let’s explore ways to make your homemade Nutella ice cream even more extraordinary. These tips and variations will help you customize your treat to perfection, ensuring every scoop is a delightful experience.
Beyond Vanilla: Mastering Your Base
While high-quality vanilla ice cream serves as the perfect canvas for Nutella’s rich flavor, don’t be afraid to experiment with your base. Using a good vanilla ice cream is key because it provides a neutral, creamy foundation that allows the distinct hazelnut-chocolate notes of Nutella to shine without competition.
If you’re feeling adventurous, you could try a chocolate ice cream as your base. This will intensify the chocolate flavor, creating a double-chocolate hazelnut dream. However, be mindful that this might slightly mute the hazelnut profile of the Nutella. A coffee-flavored ice cream could also add a sophisticated twist, complementing the nutty sweetness beautifully. The crucial factor is the quality and fat content of your base ice cream; a creamier, higher-fat ice cream will always yield a smoother, less icy result.
Creative Add-ins and Swirls for Extra Decadence
The beauty of this no-churn recipe is its adaptability. You can easily elevate your Nutella ice cream with a variety of delightful additions:
- Crunchy Elements: Fold in crushed Ferrero Rocher chocolates for an instant upgrade, or sprinkle in some chopped hazelnuts for an extra nutty crunch that perfectly echoes the Nutella flavor. Chocolate chips, mini or regular, are always a welcome addition for bursts of chocolatey goodness.
- Luscious Swirls: For a truly decadent experience, consider adding a swirl of Homemade Salted Caramel Sauce. A thick chocolate ganache or even more Nutella can also be swirled in just before the final freeze. To incorporate swirls, gently layer the ice cream mixture and the swirl component in your freezer container, then use a knife or skewer to create decorative patterns.
When adding mix-ins, it’s best to do so during the final stirring stage, just before transferring the mixture to the freezer container, to ensure they are evenly distributed without becoming too incorporated.
Pro Tips for Perfect Portions and Storage
To make enjoying your homemade Nutella ice cream even easier, consider these practical tips:
- Single-Serve Freezing: For quick treats or for the kids, freeze the mixture in silicone muffin molds or individual ramekins. Once frozen, you can pop out individual portions and store them in a freezer bag. This method also helps prevent freezer burn and allows for easy serving without scooping.
- Optimal Storage: To keep your homemade Nutella ice cream tasting its best, store it in an airtight, freezer-safe container. Pressing a piece of parchment paper or plastic wrap directly onto the surface of the ice cream before sealing the lid can help prevent ice crystals from forming. Properly stored, your ice cream should maintain excellent quality for up to 3 months.
By applying these pro tips, you’ll ensure your homemade ice cream is always perfectly portioned, lusciously creamy, and ready to enjoy whenever a craving strikes.
These creative twists and practical tips will help you achieve a truly remarkable dessert. Next, we’ll tackle any questions you might have.
Troubleshooting Your Homemade Nutella Ice Cream
Even the most straightforward recipes can sometimes hit a small snag. If your homemade Nutella ice cream isn’t quite as perfect as you envisioned, don’t worry! We’ve outlined common issues and their simple solutions to ensure your next scoop is pure bliss.
Is Your Ice Cream Icy Instead of Creamy?
An icy texture often means ice crystals have formed. This can happen if the ice cream wasn’t sufficiently softened before mixing, or if it experienced temperature fluctuations during freezing. Ensure your vanilla ice cream is softened to a thick, pudding-like consistency, not completely melted. Also, try to minimize opening the freezer door during the initial freezing period.
Is Your Ice Cream Too Hard to Scoop?
If your Nutella ice cream is as hard as a rock, it’s likely frozen too solid. This can be due to an extremely low freezer temperature or simply freezing for too long without re-stirring (though this recipe’s fat content helps prevent that). A great tip is to let the container sit on the counter for 5-10 minutes before scooping. This brief thawing period will soften it just enough for easy serving without compromising the overall texture.
Is the Nutella Not Mixing Evenly?
Achieving a uniform chocolate-hazelnut swirl is key. If you’re finding streaks or clumps of Nutella, it’s likely because the ice cream was too hard when you started mixing. Remember, the ice cream needs to be softened enough to incorporate the Nutella smoothly. Stirring vigorously and consistently until the mixture is homogenous is crucial. If it’s still too stiff, let the ice cream soften a little longer before proceeding with step 1.
Storage Solutions for Long-Lasting Freshness
To keep your homemade Nutella ice cream tasting its best, proper storage is essential. Always ensure your freezer-safe container is covered tightly, ideally with a layer of plastic wrap directly on the surface of the ice cream before sealing the lid. This prevents freezer burn. Stored correctly, your delicious creation should remain wonderfully scoopable for up to 3 months.
By addressing these common concerns, you’re well on your way to perfectly creamy, delightful homemade Nutella ice cream every time. Now, let’s move on to how to best enjoy your creation!
Your Nutella Ice Cream Questions, Answered
How to make a 3 ingredient ice cream?
Combine softened vanilla ice cream and Nutella in a bowl, stir until smooth, transfer to a freezer-safe container, and freeze until firm.
What are the ingredients in Nutella Ice Cream?
This easy recipe uses just three key ingredients: high-quality vanilla ice cream, Nutella, and optional garnishes like chocolate chips or sauce.
Can you make Nutella Ice Cream with just milk?
No, milk alone won’t create the creamy texture of ice cream. This recipe relies on the fat and structure of softened ice cream for its signature creaminess.
How to make the Nutella Ice Cream hack?
The popular ‘hack’ involves combining softened ice cream and Nutella, stirring until smooth, and then freezing until firm for a quick, no-churn treat.
Ready to Enjoy Your Homemade Treat?
We hope you absolutely loved creating and savoring this incredibly easy Nutella ice cream!
Your feedback is invaluable. If you made this recipe, please take a moment to leave a star rating and share your experience in the comments below. It helps others feel confident in trying this delicious treat!
Enjoy this delightful treat and don’t forget to explore other delicious recipes like our Pistachio Chocolate Bar. For more inspiration, follow us on Pinterest and Facebook!

3-Ingredient Nutella Ice Cream
Equipment
- Freezer-safe container
- Large bowl
- spatula or spoon
- parchment paper or plastic wrap
- silicone muffin molds or ramekins (optional)
Ingredients
ice cream
- 1 quart high-quality vanilla ice cream softened slightly
- 0.5 cup Nutella
optional garnishes
- chocolate sauce for drizzling
- chocolate chips mini or regular
- chopped hazelnuts
- Ferrero Rocher chocolates crushed
- Homemade Salted Caramel Sauce for swirling
- chocolate ganache thick, for swirling
Instructions
The Perfect Blend
- Begin by ensuring your 1 quart of high-quality vanilla ice cream has softened slightly. You want it pliable enough to stir, but not completely melted. This stage is crucial for achieving a smooth consistency without ice crystals. In a large bowl, combine the softened ice cream with ½ cup of Nutella. Stir vigorously with a spatula or spoon until the mixture is uniformly combined and smooth. Aim for a consistent color and texture throughout, ensuring no streaks of plain ice cream or clumps of Nutella remain. Be mindful not to overmix, as this can incorporate too much air, potentially affecting the final texture.
Ready for Freezing
- Once your Nutella ice cream base is perfectly blended and smooth, it’s time to prepare it for its transformation into frozen delight. Carefully transfer the entire mixture into a freezer-safe container. Using a container with a tight-fitting lid is essential. This prevents freezer burn and the absorption of any unwanted odors from your freezer. Ensure the mixture is spread evenly in the container to promote consistent freezing.
The Freezing Process
- Cover the container tightly with its lid. Place the container in the freezer and allow the ice cream to freeze until firm. We recommend a minimum freezing time of at least 4 hours. For the best texture and scoopability, longer freezing periods are often beneficial, allowing the mixture to fully set and develop its characteristic creamy consistency.
Garnish and Serve
- After the ice cream has frozen to your desired firmness, it's ready to be served. Before scooping, consider adding your favorite optional garnishes. This is where you can truly personalize your creation. Delicious additions include a drizzle of chocolate sauce, a sprinkle of chocolate chips, or a scattering of chopped hazelnuts. These not only enhance the flavor but also add a delightful textural contrast. Scoop generously and enjoy your homemade Nutella ice cream!
Notes
Crunchy Elements: Fold in crushed Ferrero Rocher chocolates for an instant upgrade, or sprinkle in some chopped hazelnuts for an extra nutty crunch that perfectly echoes the Nutella flavor. Chocolate chips, mini or regular, are always a welcome addition for bursts of chocolatey goodness.
Luscious Swirls: For a truly decadent experience, consider adding a swirl of Homemade Salted Caramel Sauce. A thick chocolate ganache or even more Nutella can also be swirled in just before the final freeze. To incorporate swirls, gently layer the ice cream mixture and the swirl component in your freezer container, then use a knife or skewer to create decorative patterns.
When adding mix-ins, it's best to do so during the final stirring stage, just before transferring the mixture to the freezer container, to ensure they are evenly distributed without becoming too incorporated. To make enjoying your homemade Nutella ice cream even easier, consider these practical tips:
Single-Serve Freezing: For quick treats or for the kids, freeze the mixture in silicone muffin molds or individual ramekins. Once frozen, you can pop out individual portions and store them in a freezer bag. This method also helps prevent freezer burn and allows for easy serving without scooping.
Optimal Storage: To keep your homemade Nutella ice cream tasting its best, store it in an airtight, freezer-safe container. Pressing a piece of parchment paper or plastic wrap directly onto the surface of the ice cream before sealing the lid can help prevent ice crystals from forming. Properly stored, your ice cream should maintain excellent quality for up to 3 months. By applying these pro tips, you'll ensure your homemade ice cream is always perfectly portioned, lusciously creamy, and ready to enjoy whenever a craving strikes.